Asset Creation
The following section describes types of assets used in the model viewer. The assets include the icons, logos, color palettes, models and and "hotspots". Various issues encountered during the creation of these assets are also discussed.
Sections
Icons
The following are the set of icons in currently used in the model viewer. Icons were created using Figma and Adobe Illustrator and exported as separate files.
Usage of Icons in the Model Editor
The primary assets created were vector graphic icons that represent universal model editor features for the model editor. These features are accessible at any time using the menu bar pinned to the bottom right corner of the model editor interface.
SVG images were created to represent model import/export, loading textures from file, screenshot of the model editor, and background options.
SVG was chosen as the file format so that the icons are scalable across various screen dimensions. Icons were used instead of text to assist in streamlining the layout and to be more readable on mobile devices.

Always available model options are pinned to the bottom of the menu.
Various vector icons are also used to represent various options in the material and hotspot tabbed sections of the model viewer.
The "shader ball" icon is used to represent materials for the material tab.
In the material section icons are swapped to show if a texture is loaded in from file. Icons are also swapped to represent if a model is "pinned" or not. A pinned icon means that the material attributes of a model can not be added until the icon is clicked again to "un-pin" it. Additionaly icons in the materials panel are used to represent the default color palette and a custom color palette which uses colors read from file.
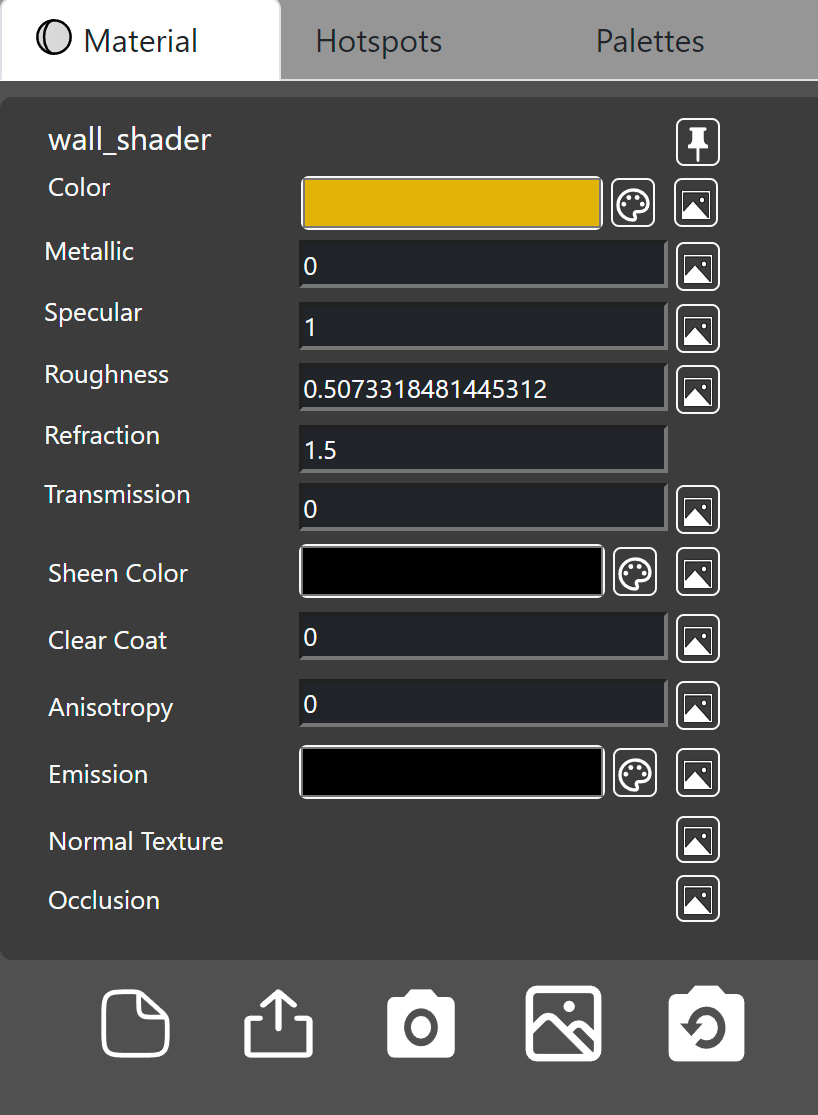
Icons used to represent loaded textures, the default and custom color palettes.
In the hotspot sections icons are used to toggle the visibility of hotspot labels, remove the individual labels or to hide the label from view.
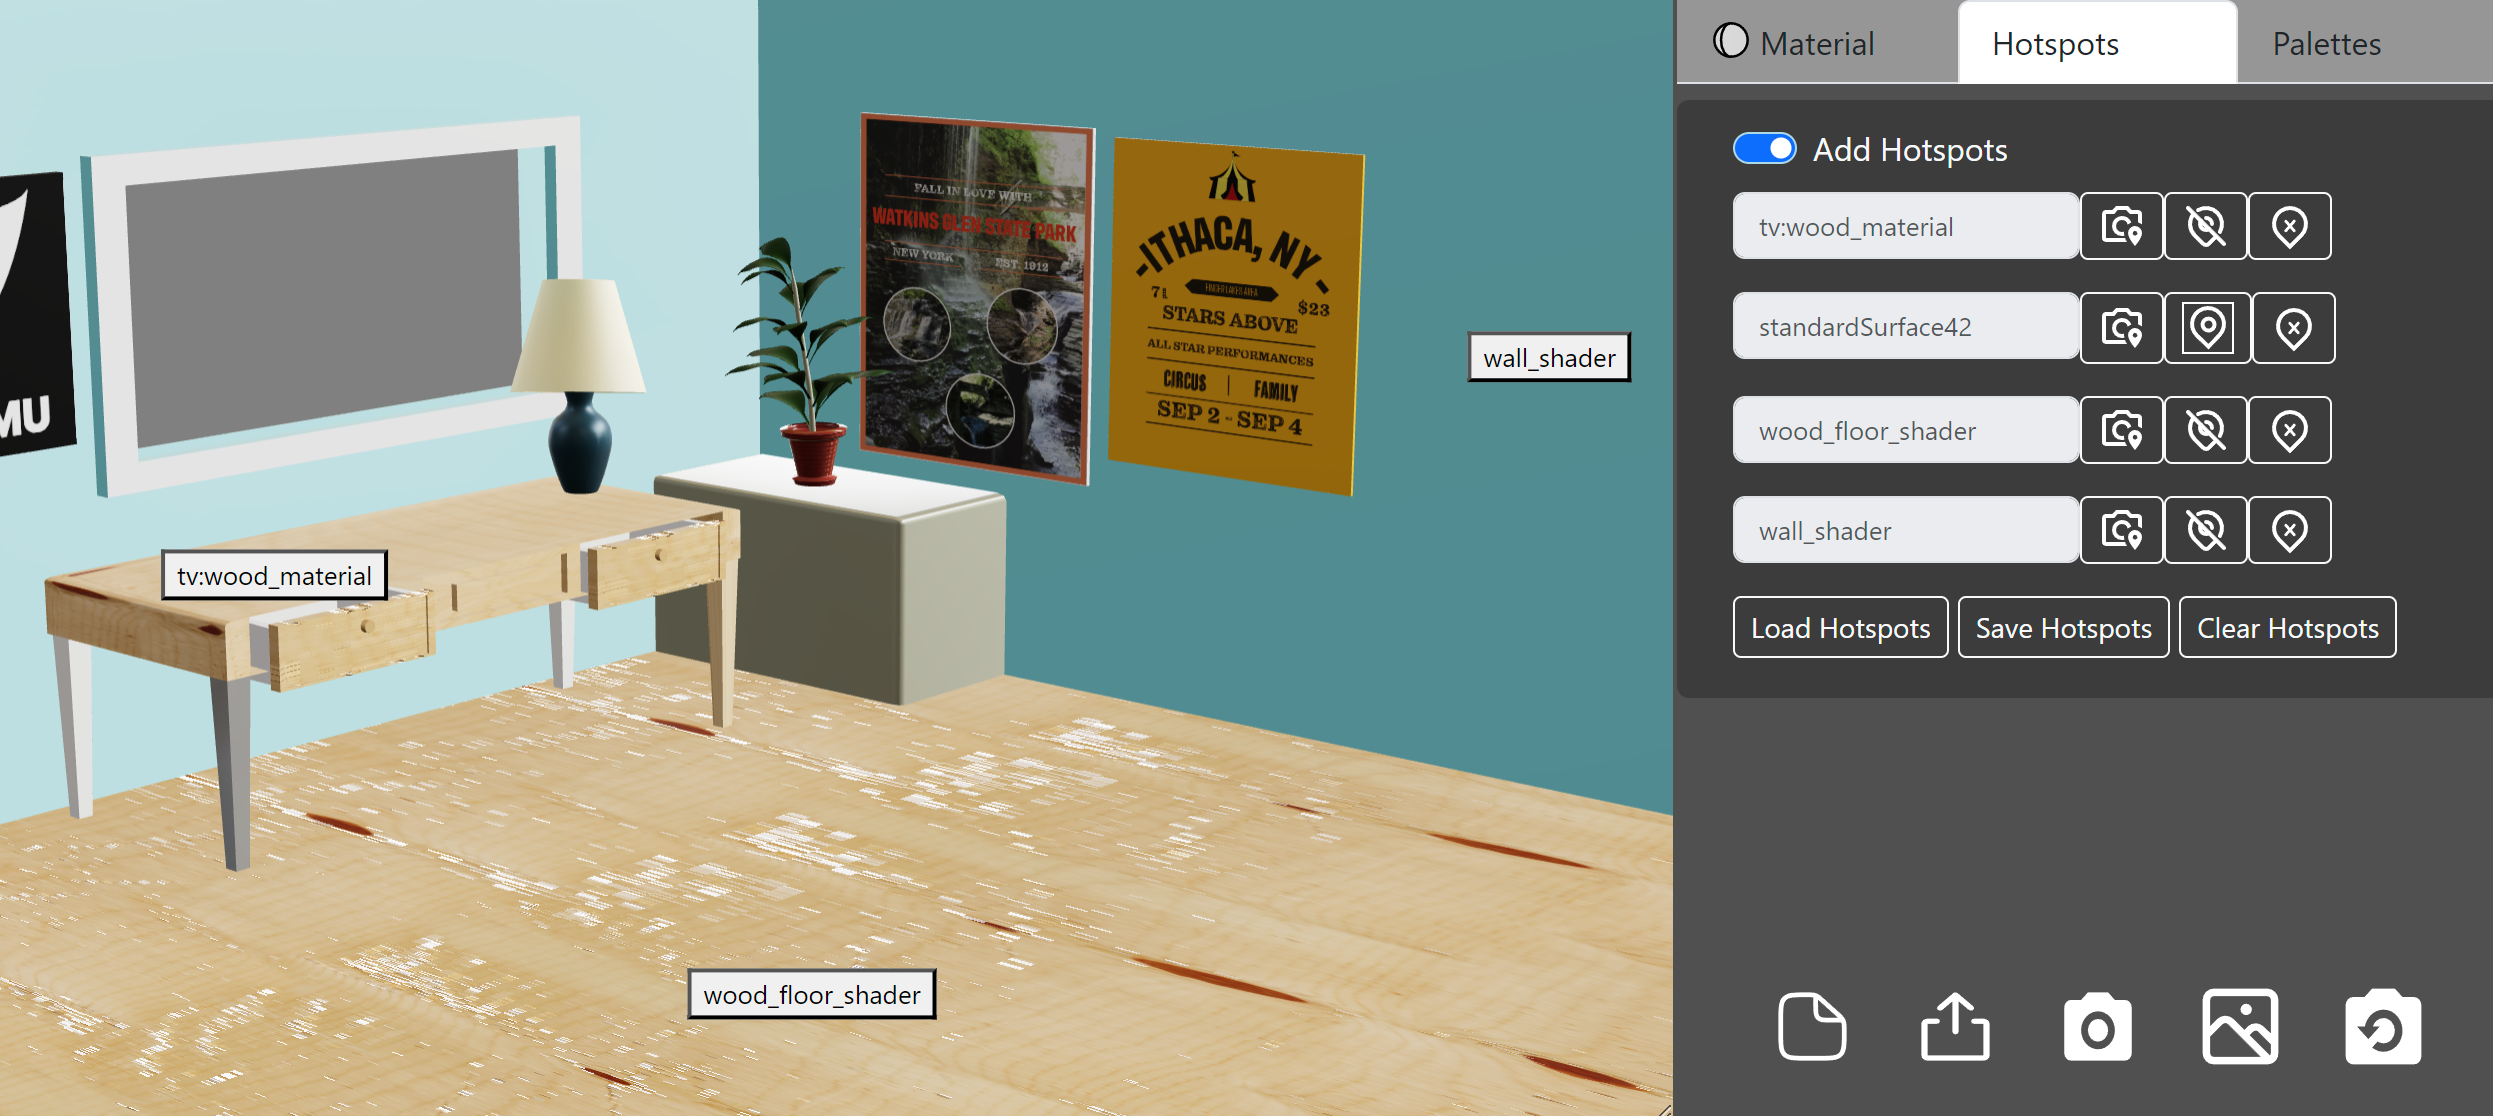
Users can hide/delete or reorient the camera to individual hotspots. Users can also load/save or clear all hotspot labels from view.
Logos
The application icon is mainly used for the web site. See the section on Logo and Branding for details on how this was created. The SVG was cleaned up to remove extraneous border edges using Adobe Illustrator. A 3D version of the logo was also created as a test sample for the editor.
| Application Icon |
|---|
The following views show the progression from a flat (2D) SVG, through to 3D extruded and then to a 3D extruded model with the background and extra borders removed. The final view shows the result after applying color modifications in the editor.
Colors and Color Palettes
Color Conversion and Color Math
The Javascript code used for converting between different color space representations (e.g. RGB to HSV) as well to perform color management (e.g. gamma correction), and handling numeric representations (RGB, HEX etc) was created as needed using ChatGPT. The explicit interpretation of alpha (RGBA) vs RGB colors, and whether colors were in 0..255 versus 0..1 range was provided as input parameters for code generation.
The conversion logic was required as different interfaces only accepted colors of a specific format.
For example the model-viewer component used for material editor differed from the DOM elements used for UI. Space conversion was also required to compute things like complementary colors.
The code was used as a starting point and had to be modified when neccessary.
Below is an the prompt used for complementary color generation:
> Write code snippets in both Python and JavaScript that compute a single pair of complementary colors for a given set of eight main colors. The input colors can be provided in either hex format (e.g., #RRGGBB) or RGB arrays. Ensure that the calculations take into account the average hue, saturation, and value for accurate results. If necessary, handle conversions between color representations appropriately, and demonstrate how the code can seamlessly handle both hex and RGB input.
Color Palettes
There is currently no standard format for storing color palettes. As such a simple schema in JSON format was created to store the following information:
- Creator / manufacturer of the color palette
- Name of the color palette (given by the creator / manufacturer)
- Link to the color palette on the creator's / manufacturer's web site
- List of colors in the palette
- The RGB value of the color. RGB representation was chosen for ease of use and to be consistent with how colors are specified by creator sites. In particular for paint manufacturers such as Dulux.
- Name of the color. This is the name given by the creator of the color.
- Code of the color. This is generally the code given by a manufacturer.
-
 LRV (Light Reflectance Value) of the color. This is a value between 0 and 100 that indicates how much light is reflected by the color. This is useful for determining how bright a color is.
 - Link to the color on the creator's web site for the given color
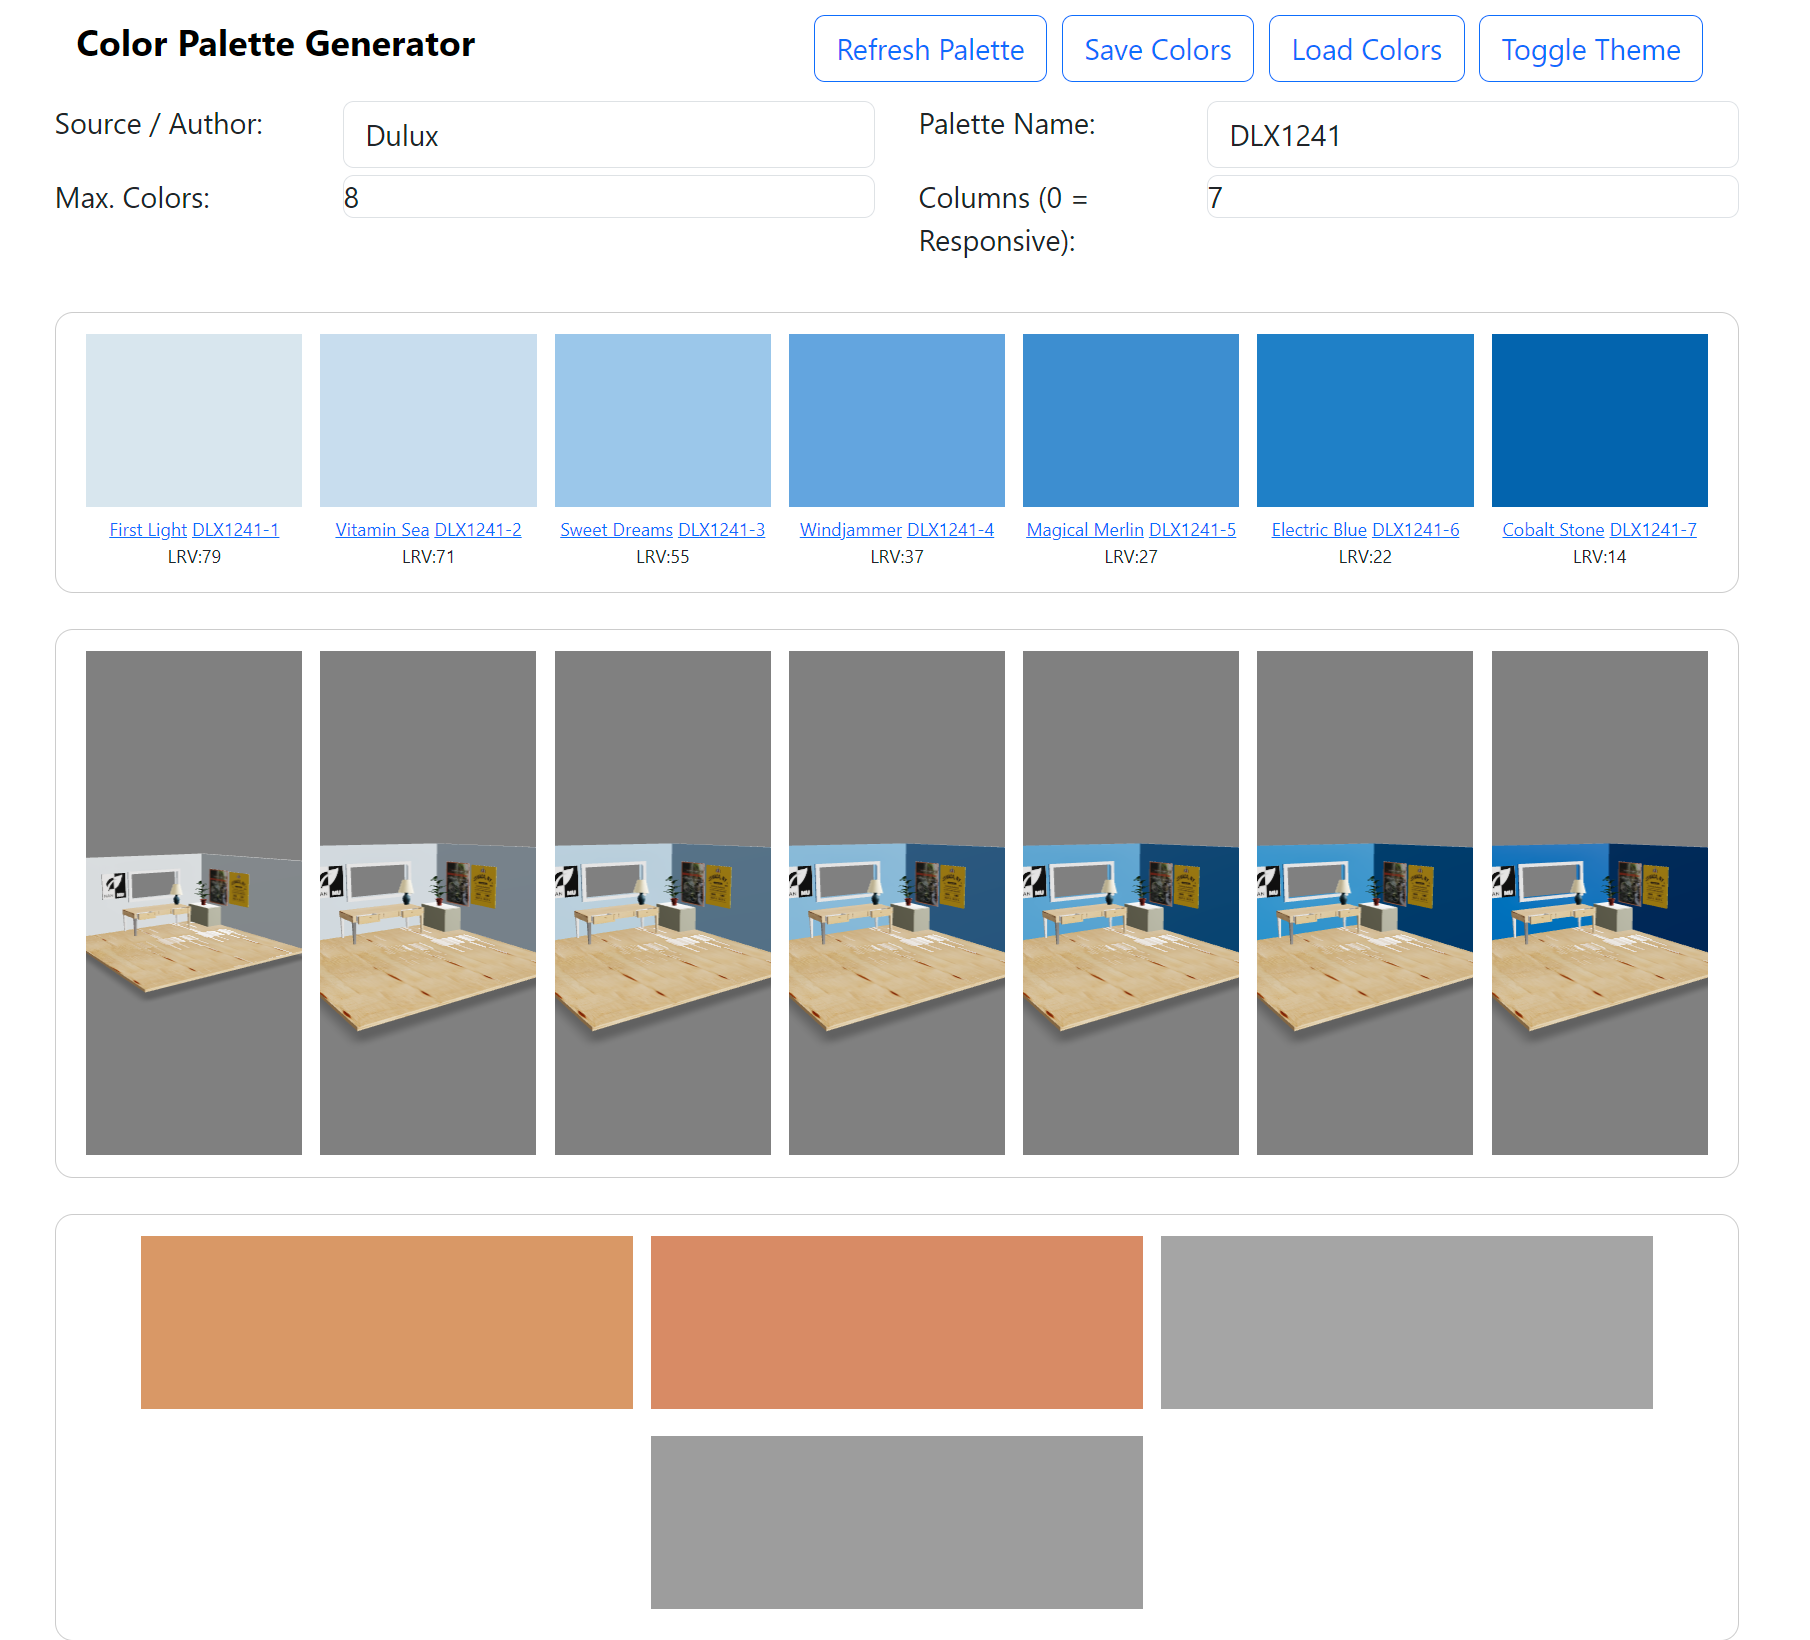
This information can be created, loaded and saved using the color palette editor as shown below.
| Dulux Blue | Dulux Ghost Whisperer |
|---|---|
 |
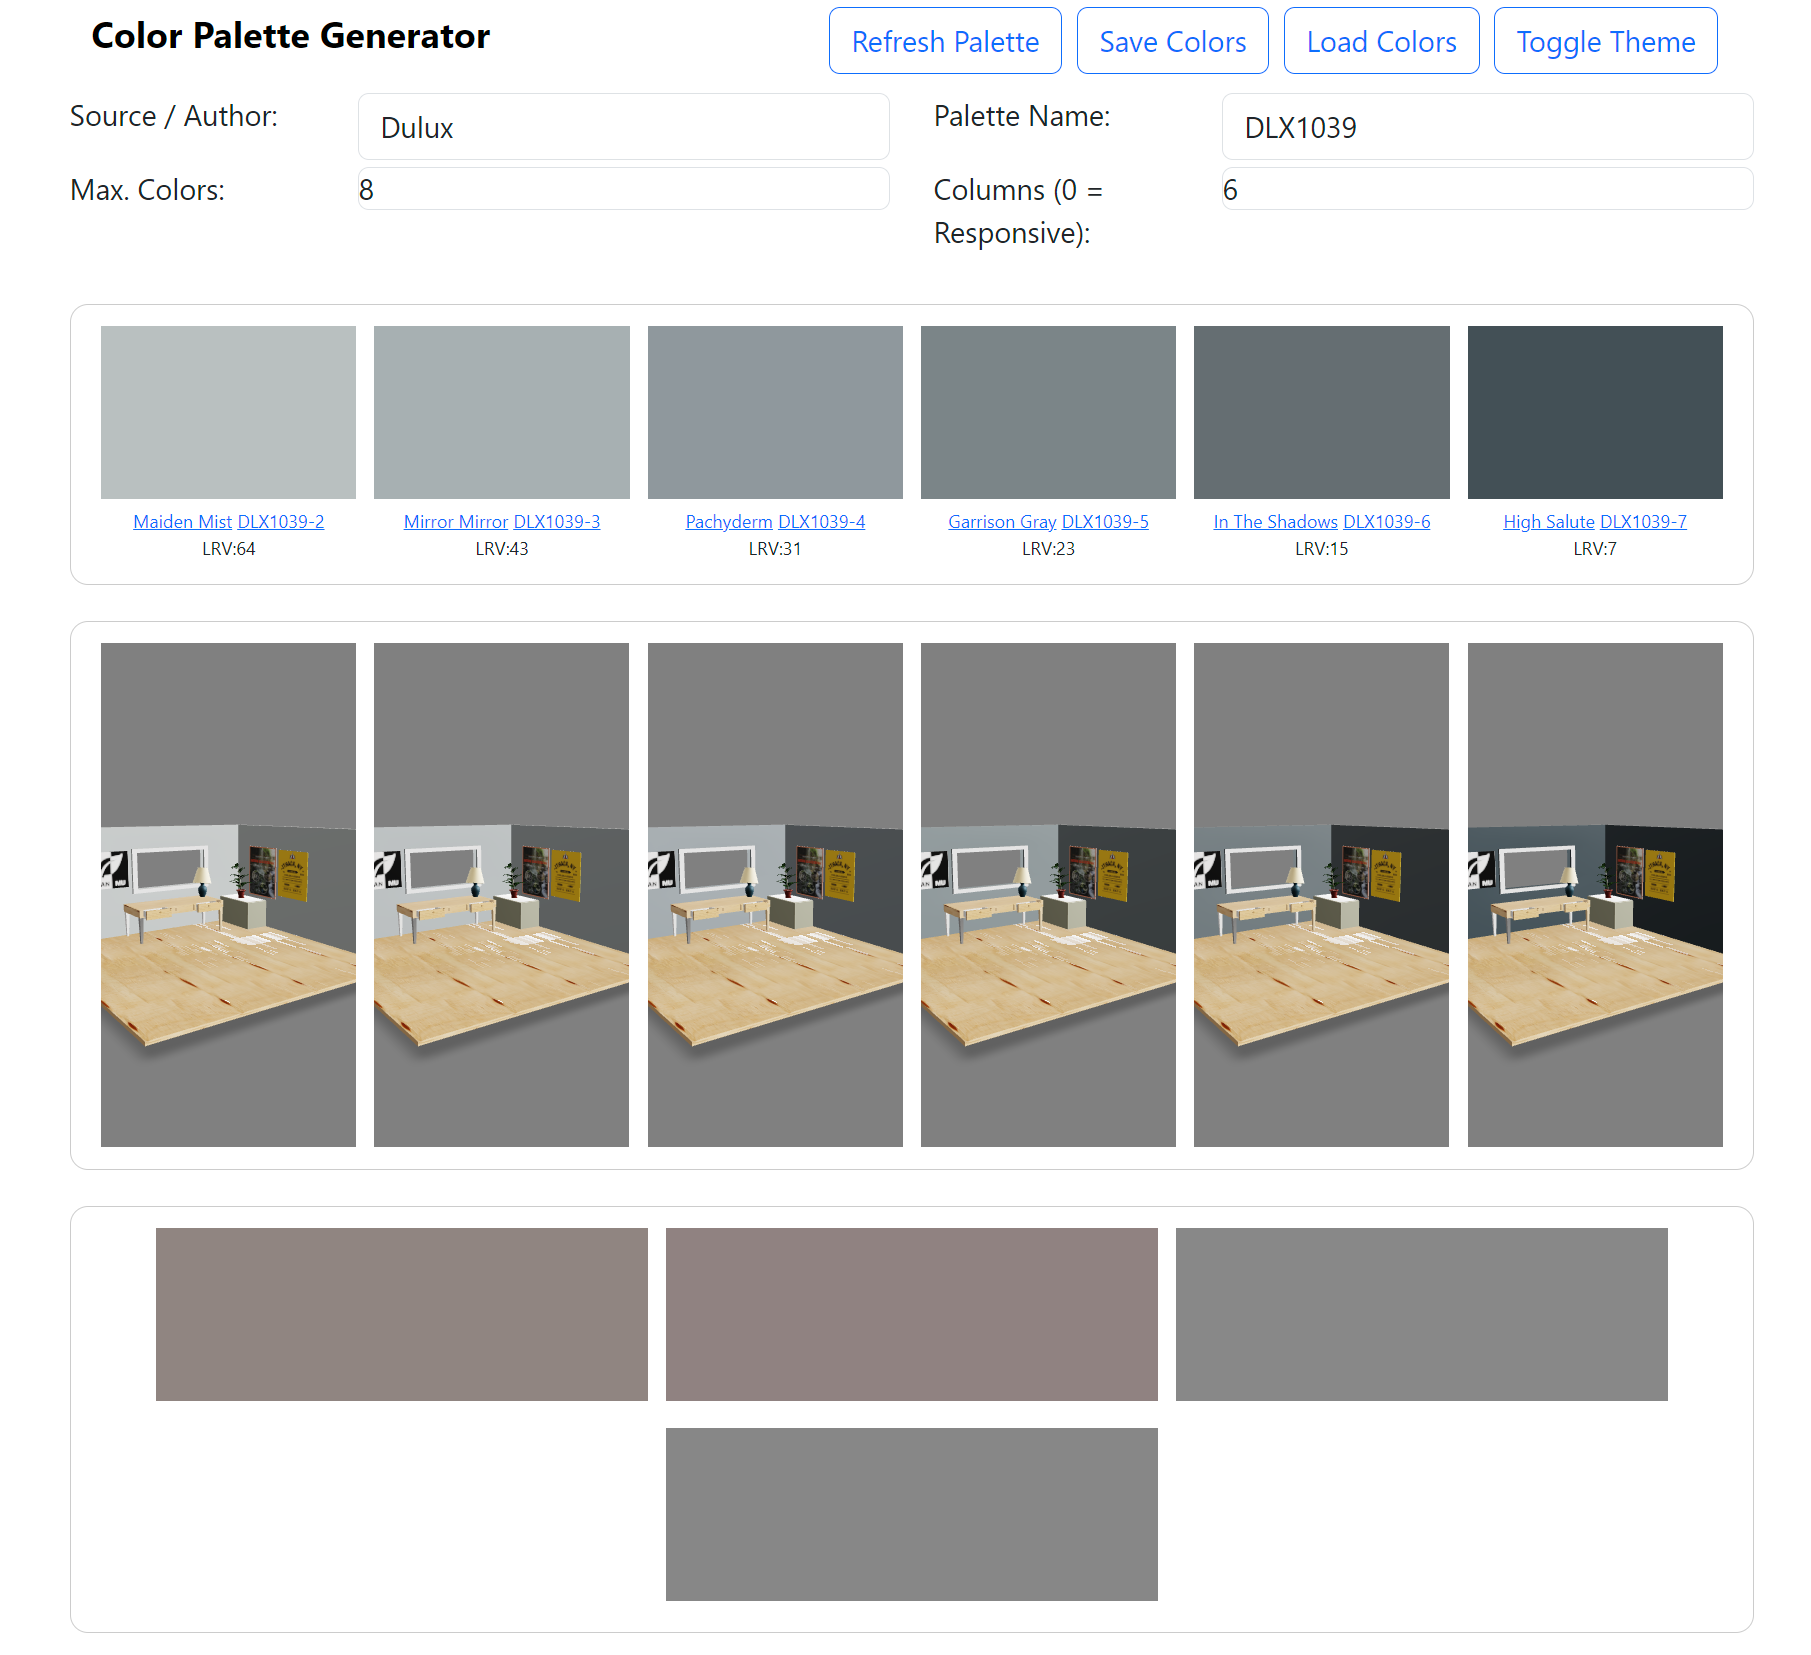 |
For colors which are generated an LRV value is computed. Note that this is not a true LRV value as it is computed from the RGB values of the color. However, it is useful to get an appoximation of the brightness of a color.
The color palette files can then be loaded into the model editor to define a restricted set of colors to use for a given material assigned to a model part.
Below is an example of the JSON format used to store the color palette information. The color palette editor saves palettes in this format. The editor can then load in pre-defined palettes from file. This example shows actual data taken from the Dulux web site.
Sample Delux Blue Color Palette
{
    "creator": "Dulux",
    "palette": "DLX1241",
    "link": "https://colour.dulux.ca/blues",
    "colors": [
      {
        "rgb": [217, 230, 238],
        "name": "First Light",
        "code": "DLX1241-1",
        "lrv": 79,
        "link": "https://colour.dulux.ca/blues/first-light"
      },
      {
        "rgb": [200, 221, 238],
        "name": "Vitamin Sea",
        "code": "DLX1241-2",
        "lrv": 71,
        "link": "https://colour.dulux.ca/blues/vitamin-sea"
      },
      {
        "rgb": [155, 199, 234],
        "name": "Sweet Dreams",
        "code": "DLX1241-3",
        "lrv": 55,
        "link": "https://colour.dulux.ca/blues/sweet-dreams"
      },
      {
        "rgb": [98, 165, 223],
        "name": "Windjammer",
        "code": "DLX1241-4",
        "lrv": 37,
        "link": "https://colour.dulux.ca/blues/windjammer"
      },
      {
        "rgb": [61, 142, 208],
        "name": "Magical Merlin",
        "code": "DLX1241-5",
        "lrv": 27,
        "link": "https://colour.dulux.ca/blues/magical-merlin"
      },
      {
        "rgb": [30, 128, 199],
        "name": "Electric Blue",
        "code": "DLX1241-6",
        "lrv": 22,
        "link": "https://colour.dulux.ca/blues/electric-blue"
      },
      {
        "rgb": [2, 100, 174],
        "name": "Cobalt Stone",
        "code": "DLX1241-7",
        "lrv": 14,
        "link": "https://colour.dulux.ca/blues/cobalt-stone"
      }
    ]
  }
Hotspots
The model-viewer component allows for "hotspots" to be set with the model-viwer DOM element.
To allow reuse, a simple JSON schema was created to store the following information:
- Name of the hotspot
- Model position of the hotspot
- Model normal of the hotspot
An attempt was made to allow for hotspots to dynamically be created within the editor for parts of the model. This was not achieved due to the lack access to the scene's geometric elements. Instead hotspots for the materials were determined. The name of the material was what was used for storage.
As the model-viewer only allows the loading of glTF and usdz files currently.
For hotspots to have proper labelling all materials should be named appropriately.
This is not always the case as the name of the material can be unspecified.
Below is an example hotspot file created using the model editor.
{
  "SR_Greysphere_Calibration_baked": {
    "position": "2.432912866231402m 1.1472056120147225m 0.9758283304179232m",
    "normal": "-0.02116369758231689m -0.021735863788378024m 0.9995397191357717m"
  },
  "SR_wood1_baked": {
    "position": "-0.11660302599201833m 1.766454424758654m 0.471261481380548m",
    "normal": "-0.07346897722365733m 0.8259878692572087m 0.5588795480473824m"
  }
}
3D Models and Environments
All sample models used for the model editor are in glTF (glb) format. The models were created in a variety of ways including dynamic creation using the materialglf Python package (for shader ball examples) from within the QuiltiX editor.
Of note is that the model-viewer component has outstanding issues wherein if a material parameter is not specified in glTF then it cannot be edited. All shader ball examples were created using the materialglf package to ensure that all material parameters were specified.
Below is an example material provided with QuiltiX which has been exported, and then loaded and edited in the model editor (a blue sheen was added to the material).
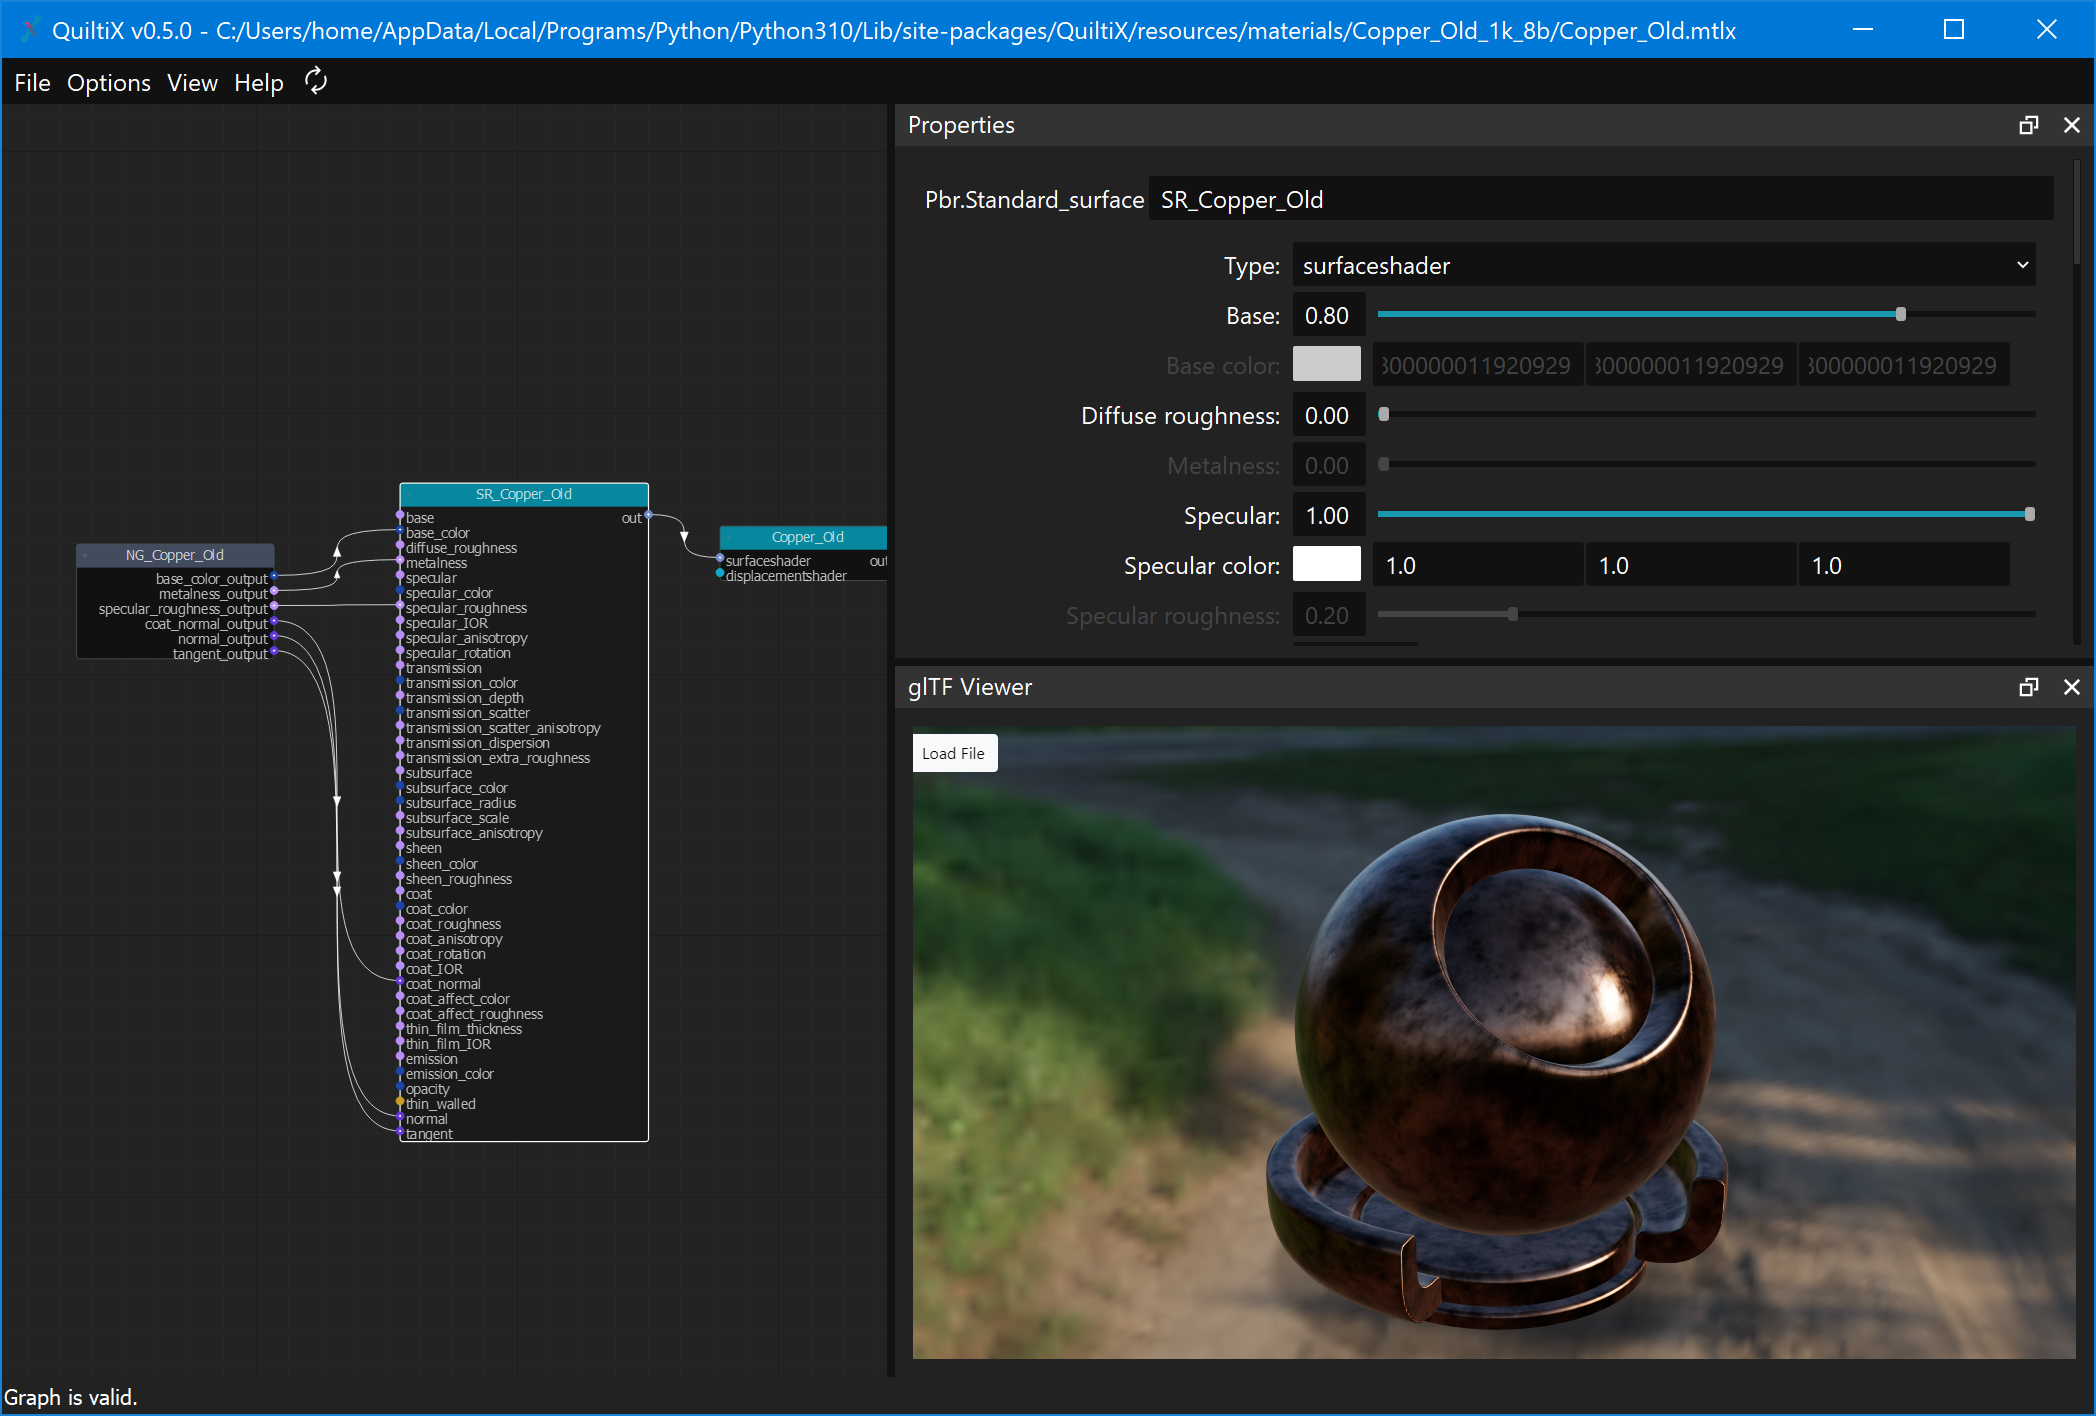 QuiltiX Editor with Copper Material
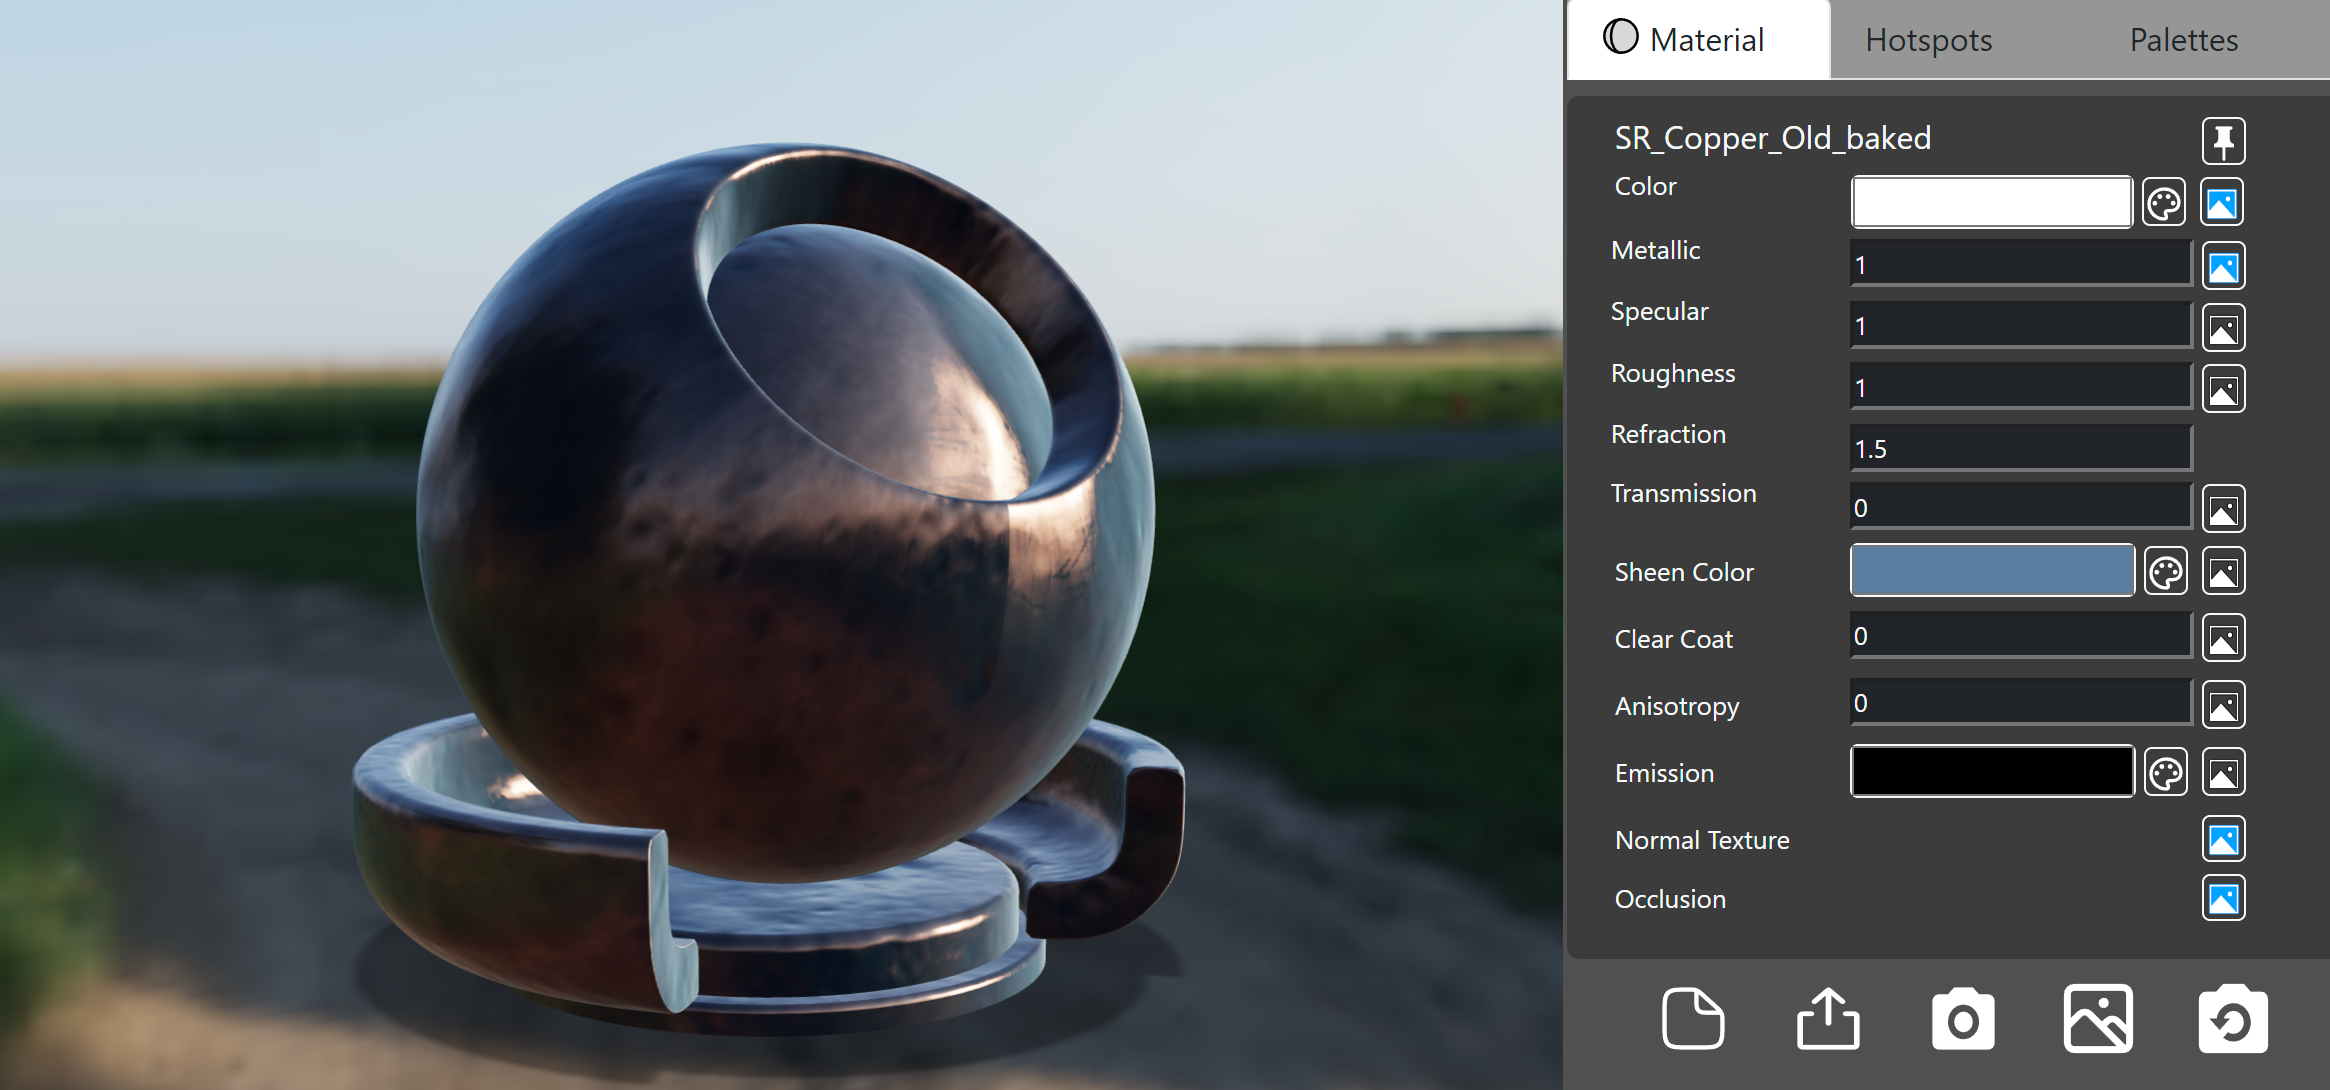 glTF version of Copper Material in editor
Sample Models
Below are a few other sample models that were loaded in.
A sample "room diorama" and the simplified "room" model used for demonstrating the material editor, and color palette editor.
The a small figurine with 2 different variations created using the editor.
Model with material created with Adobe Substance 3D (left), and a modified "Shader ball" model create using materialxgltf package (right).
Environments
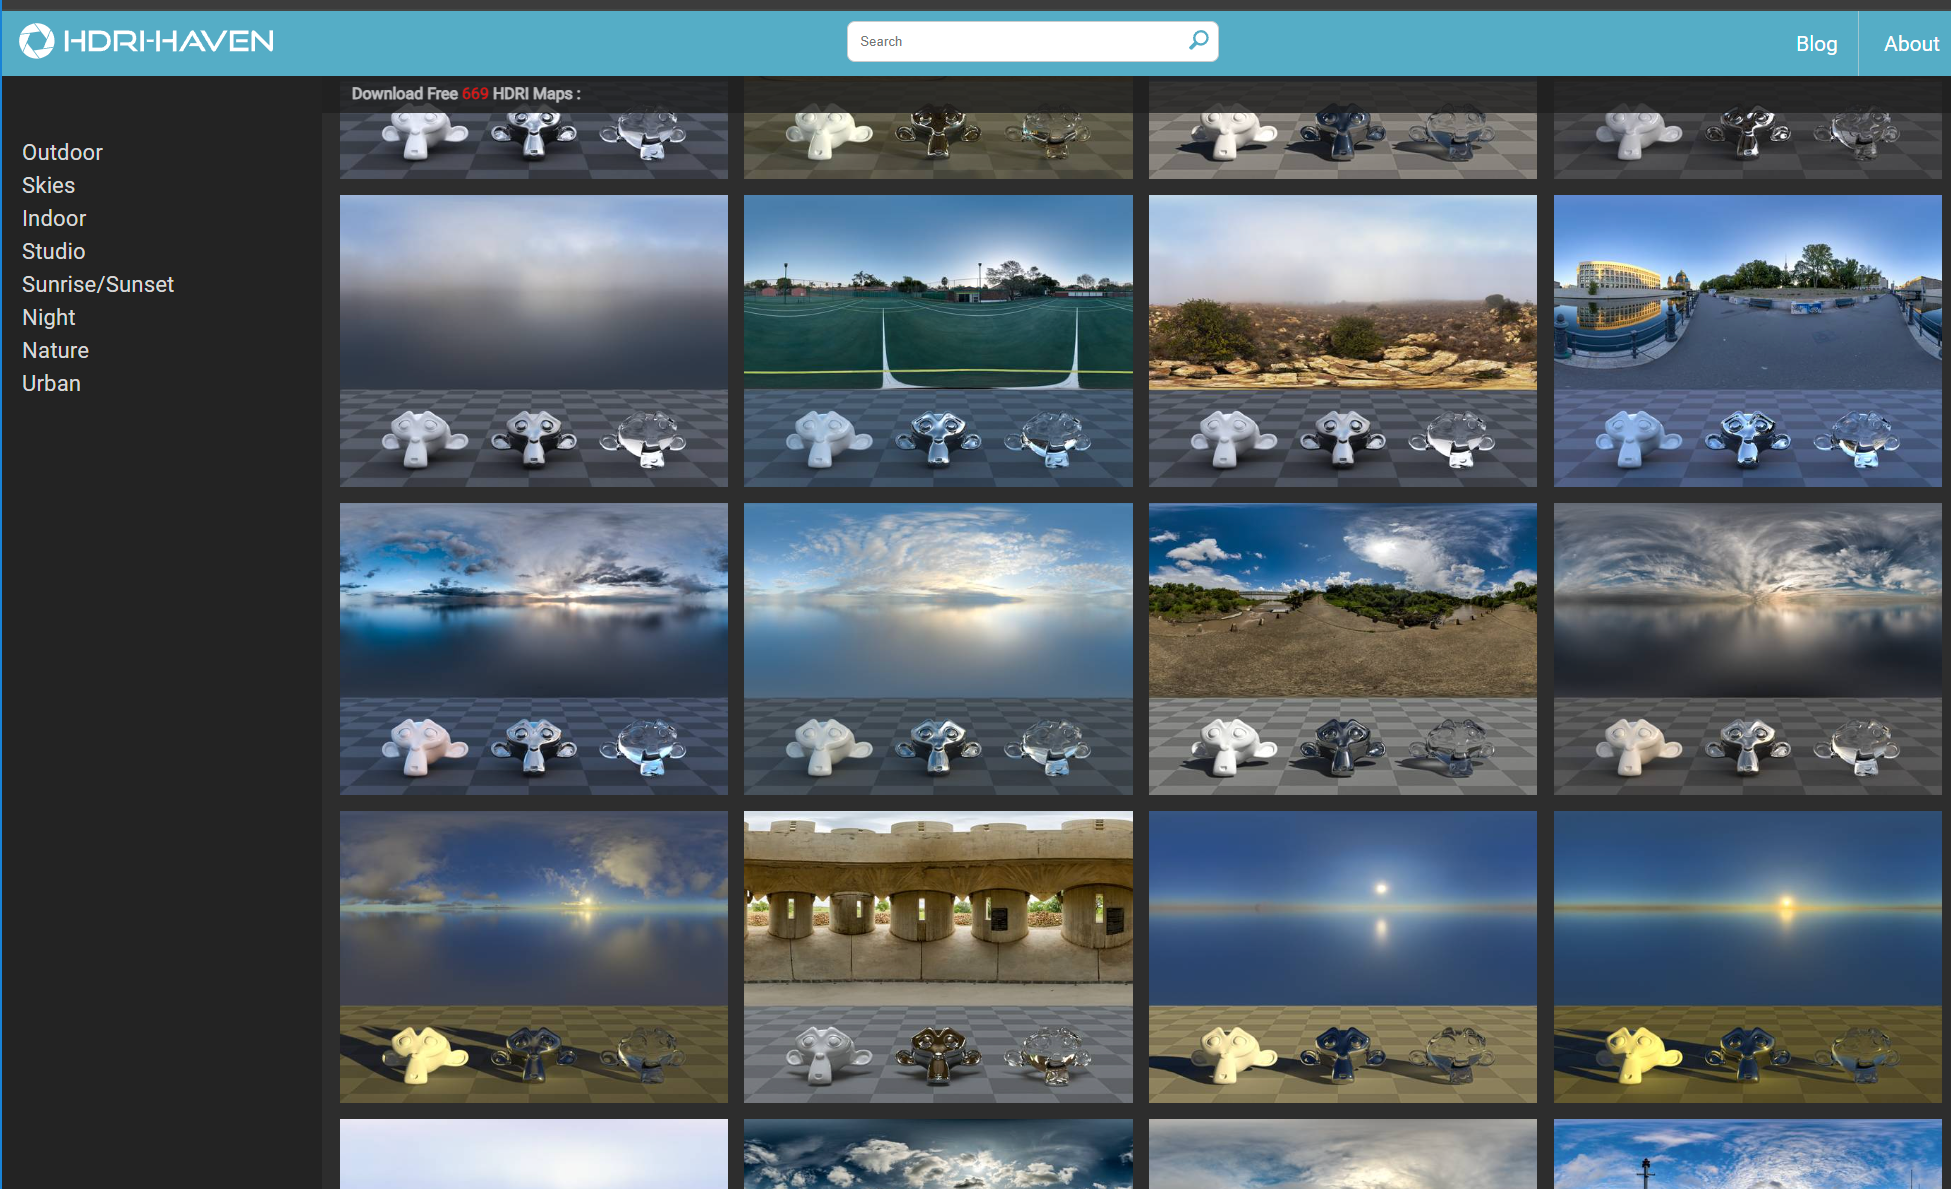
The lighting environments used came from HDRI Haven. For performance, lower resolution versions of the HDR images were used.
These environments can be loaded into the model editor by dragging and dropping files into the viewer area.